How to deploy Airbyte on Kubernetes.

Deploying Airbyte on Kubernetes

Airbyte is a popular open-source EL(T) platform. Here's how to deploy and scale an Airbyte deployment on Kubernetes.

Abhi Vaidyanatha
Abhi Vaidyanatha

Table of Contents


Airbyte is an open-source ELT platform that provides a marketplace of community-built, open-source connectors for integrating with various data sources. This eliminates the need for your organization to create bespoke and custom code to connect data sources. Due to its ease of use and low barrier to entry, it is quickly becoming the industry standard for replication jobs.

Previously, to deploy Airbyte on Kubernetes, you would need to configure your own Kubernetes cluster and Airbyte instance. While this is doable, the management of production-stage operations and monitoring requires frequent manual intervention. Additionally, this process will vary drastically across different cloud providers and platforms.

While anyone can create ELT pipelines, deploying and setting up the application itself is complex and requires specific (cloud) infrastructure, networking, and Kubernetes knowledge.

This article will go over setting up a fresh Kubernetes cluster and installing Airbyte onto that cluster using Plural, a platform that helps you deploy and manage the lifecycle of open-source applications on Kubernetes. Plural combines the scalability and observability benefits you get with managed SaaS offerings with the data security, governance, and compliance benefits of self-hosting Airbyte.

If you prefer a video walkthrough, check out this video that follows along with this blog post.

Prerequisites

Before you install Airbyte onto a Kubernetes cluster, you will need to create an account with Plural. While it may feel weird to create an account for an open-source tool, by doing so we can provide the following benefits:

  • A cloud shell that bypasses the need for a local terminal,
  • A source of truth for your installations,
  • Auth tracking to make sure that a user has permission to edit and configure the Plural installation,
  • An audit log viewer
  • … and much more.

To do so, head over to app.plural.sh and follow the on-screen instructions. If you prefer to use Plural in your command line, follow our quickstart guide here.

Note: For this tutorial, we will be using our own GCP cloud credentials since we already have a service account set up with GCP. Check out our documentation to quickly set up your cloud provider to integrate with our platform (and make sure to note the download location of the created service account.)

Install Airbyte on Kubernetes

  1. After signing up for Plural, you will be taken through our onboarding experience.
Plural onboarding experience.

2. Click on use your own cloud.

Plural integrates with Google Cloud Platform (GCP), Amazon Web Services (AWS), Microsoft Azure and KIND.


3. Create a GitHub or GitLab repository to store the state of the deployment. Plural manages all cluster configurations via Git and will provision a GitHub repository on your behalf. This repository is set up using scoped deploy keys to store the state of your workspace, and no Oauth credentials are persisted.

You store the state of your Kubernetes deployment in either a GitHub or GitLab repository.
Select your GitHub or GitLab account and enter in a memorable repository name.

4. Choose your cloud provider. You’ll be prompted to enter your service account cloud credentials. Plural is a solution that deploys and manages infrastructure in a user’s cloud environment, it needs relatively high levels of access to your cloud environment. As a result, you need to provide a service account to Plural so that it can authenticate against your cloud environment.

Enter your cloud credentials for Plural to deploy the Kubernetes cluster on your behalf.

5. Enter a unique cluster name to be created for the deployment. Then, provide a unique bucket prefix and a subdomain for DNS creation.

Configure your Kubernetes cluster and provide it with a unique DNS to access all your applications in a singular place.

6. Review that the information you entered is correct, and if so click create. Note: This step can take a few minutes

Review that all the information in your cloud shell is correct.

7. Plural will spin up a cloud shell environment for you and now you’ll be prompted to select the applications you want to install on a fresh Kubernetes cluster. For the purpose of this demo, we’ll be installing Airbyte and the Plural console (a web-based dashboard that allows you to manage all your Plural applications and clusters in one place.)

Select the applications your want Plural to deploy on a Kubernetes cluster on your behalf.

8. Set up some basic workspace configuration to ensure we name the cluster to add. You’ll first be prompted to enter a VPC name for the Airbyte deployment to reside in.

Enter a VPC name for the Airbyte deployment to reside in. 

9. Enter the storage bucket information specific to your cloud environment if prompted (this is for the plural console which provides application health data and automated application upgrades.)

Pass along storage bucket information that is specific to your cloud environment.

10. If you earlier chose to install the Plural console alongside your Airbyte installation you’ll be prompted to configure your Plural console environment.

Enter in a DNS name to access your Plural console at.

11. Enter a hostname for you to access your airbyte deployment as well as a private DNS name to securely access the Airbyte API. Note: It's recommended to name the hostname after the application.

Enter a private DNS name to securely access the Airbyte API and Airbyte installation.

12. Click Install and Plural will begin deploying the Plural console and Airbyte automatically. Plural will run ‘plural build’ and ‘plural deploy’ on your behalf. You can follow the progress through the log output on the right-hand side. This process normally takes 10-15 minutes.

Plural will show you all the applications that will be installed and their dependencies.

13. Once everything is up and running your screen should look similar to this.

Plural then runs 'plural build' and 'plural deploy' on your behalf to spin up a fresh K8 cluster.

Accessing the Plural Console

If you set up Plural OIDC earlier you don’t need to worry about managing authentication for logging into the console or the Airbyte UI.

Plural OIDC enables you to login to any application you set up using Plural.

The Plural console acts as your command center for your Plural applications. It comes with a lot of out-of-box functionalities such as:

  • Runbooks: Recommended settings and optimal operating procedures for running your application.
  • Components: Statuses for each individual component in your Airbyte deployment and Kubernetes cluster. Inside this, you can look into Pod logs and events and use them to drill down into the root cause of any problems with your Kubernetes cluster.
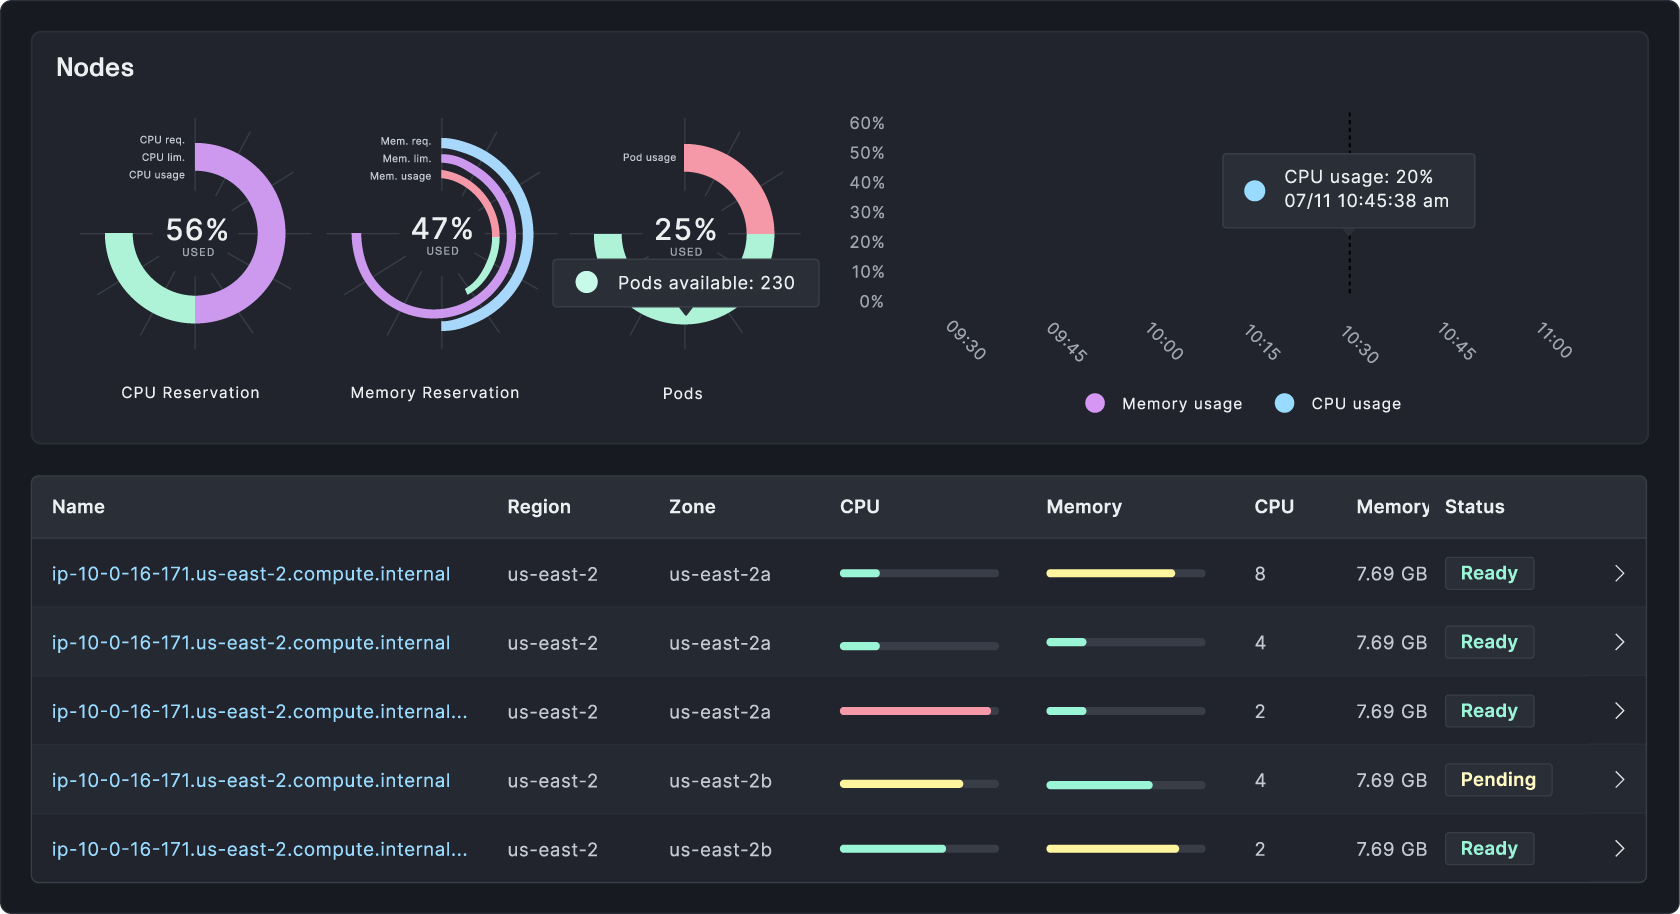
  • Nodes: Graphs and detailed information about the utilization of resources and deployments on each node.
  • Incidents: View incidents that Plural automatically creates on component failure. Access a direct connection with our support team to troubleshoot any issues.
  • Dashboards: View charts that have been tailored for your application. Every Plural application will ship with its own custom console dashboard.

Accessing your Airbyte Deployment

Once you are in your Plural console click on the launch button next to Airbyte to access your Airbyte installation.

To access your Airbyte Installation click on 'Launch' next to Airbyte.

As mentioned earlier if you set up Plural OIDC earlier you don’t need to worry about managing authentication for logging into the Airbyte UI. Click on allow to access your Airbyte instance.

Access your Airbyte Installation on Kubernetes with Plural.

You’ll then be prompted to specify your preferences for your Airbyte account.

Set up your Airbyte open-source account with Plural.

From here you successfully created an Airbyte account and can get started setting up your Airbyte connections.

Enter in your Airbyte Connections and set up your sources and destinations.

Another important thing to call out is how to give a user access to the Airbyte installation. Once you are back in the console you should click on the Plural account button in the upper right corner.

Click on the Plural account button to access your account information.

Next, click on users on the left side of the screen and then select invite user.

To add users to Plural click on Invite user to send them an email to join ya.

You’ll then be able to enter in the users email and we’ll send them over a link to join your account.

Use Airbyte on Kubernetes with Plural

Through this article, you have learned how to:

  • Create a Plural Git repository to store your infrastructure configuration
  • Provision a fully configured Kubernetes cluster with no management experience necessary
  • Install an instance of Airbyte on your fresh Kubernetes cluster
  • Invite users to your Airbyte installation

Are you looking to get your Airbyte instance up and running on Kubernetes with minimal effort?

Reach out to me and the rest of the team over at Plural to learn more about how Plural works and how we are helping engineering teams across the world deploy open-source applications in a cloud production environment!

Make sure to join our Discord community for deployment help, discussion, and meeting other Plural users.

Ready to effortlessly deploy and operate open-source applications in minutes? Get started with Plural today.

Tutorials

Abhi Vaidyanatha

Head of Community