Deploying Airflow on GKE or EKS
Deploying your own Apache Airflow instance on Kubernetes is challenging. Plural simplifies that process for you. Here's how.
Table of Contents
Airflow is a popular open-source tool for writing, scheduling, and monitoring workflows, particular complex pipelines for moving data into warehouses.
There are three main options for deploying using Airflow in production. The tradeoffs of the first two are well-summarized in this Hacker News comment:
Managed Airflow Scheduler on AWS with "large" size costs $0.99/hour, or $8,672/year per instance. That's ~ $17,500 considering Airflow for at least non-prod and prod instances.
Building it on your own on same size EC2 instance would cost $3,363/year for the EC2. Times two for two environments, let's say $6,700. $4,000 if you prepay the instance.
That looks way cheaper, but then you have to do the engineering and the operational support yourself.
The third option, deploying your own Airflow instance on Kubernetes, has achieved some consensus as the right way to go. The problem is that Airflow is a fairly complicated stateful application, with a SQL database and a Redis cache, which makes for a tricky setup.
In this post, I'm going to show you how the process can be simplified using Plural, an open-source tool that simplifies deploying and managing open-source applications on Kubernetes.
Plural configures Airflow properly configured on top of GKE or EKS, sets it up with an appropriate postgres instance (using an already integrated postgres operator), and ensures that it's plugged in to our observability/support/upgrading/dns systems.
The upshot is that you get the ease and experience of a managed service, with the nice price point on doing-it-yourself.
How to Install Apache Airflow on Kubernetes using Plural
- Sign up at app.plural.sh and do some setup.
2. Install the Plural CLI and some dependencies.
brew install pluralsh/plural/plural
You'll also want to make sure that you have chosen and enabled a cloud provider (GCP, Azure, or AWS) and installed its CLI.
3. Create a new Git repo to store your Plural installation in and initialize the repo
b) Clone the repo on your desktop
git clone <ssh-url-of-new-github-repo>
c) Initialize the repo for Plural
# navigate to my-plural-demo-repo
cd my-plural-demo-repo
# initialize the repo for Plural
plural init
This will ask you to select your cloud provider and some cloud provider configurations. It will record that information in a workspace.yaml
file.
4. Install the airflow plural bundle for your cloud provider of choice, so either
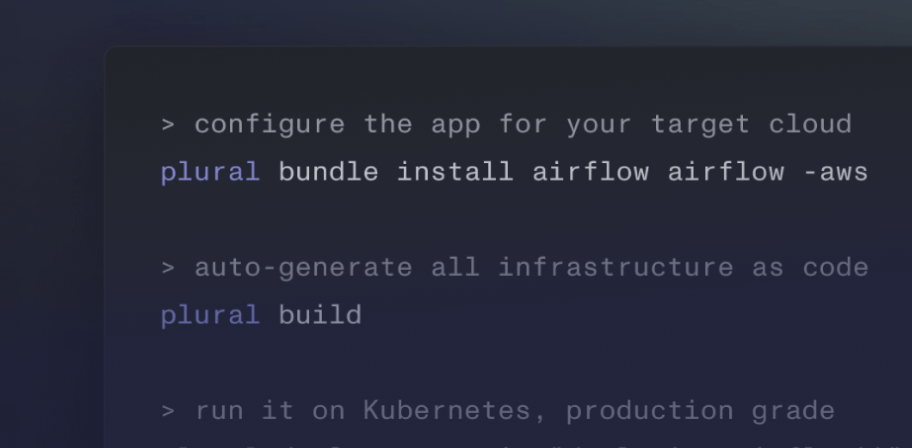
plural bundle install airflow gcp-airflow
or
plural bundle install airflow aws-airflow
Plural cli will ask you a few questions to configure Airflow and its dependencies.
- vpc_name (use arbitrary name, eg plural)
- pluralDns (true)
- txt_owner (use arbitrary name, eg plural)
- ownerEmail (use your email, eg yiren@plural.sh)
- airflowBucket (use arbitrary name, eg plural-airflow-logs)
- hostname (use Fully Qualified Domain Name of the form
airflow.<subdomain>
, where subdomain is the subdomain you created in step 1, egairflow.tryunitofwork.onplural.sh
) - dagRepo (use arbitrary name, eg plural-airflow-dags)
- branchName (use master)
- adminUsername (choose username, eg yirenlu)
- adminFirst (your first name, eg Yiren)
- adminLast (your last name, eg Lu)
- adminEmail (your email, eg yiren@plural.sh)
- Do you want to enable plural OIDC? (yN) (y)
All these values you input will be unspooled into a context.yaml
file at the root of your repo. The file will look something like this:
apiVersion: plural.sh/v1alpha1
kind: Context
spec:
bundles:
- repository: airflow
name: gcp-airflow
- repository: console
name: console-gcp
configuration:
airflow:
adminEmail: yiren@plural.sh
adminFirst: Yiren
adminLast: Lu
adminUsername: yirenlu
airflowBucket: ren-plural-2-airflow-bucket
branchName: master
dagRepo: ren-plural-dag-repo
hostname: airflow.tryunitofwork.onplural.sh
bootstrap:
dns_domain: tryunitofwork.onplural.sh
ownerEmail: yiren@plural.sh
pluralDns: true
txt_owner: ren-plural-3
vpc_name: ren-plural-cloud-3
monitoring: {}
postgres:
wal_bucket: ren-plural-2-wal-archives
At this point, your directory should look something like this:
yirenlu@Yirens-Air-2 my-plural-airflow-repo % ls
README.md context.yaml workspace.yaml
5. Build
plural build
At this point, your directory should look something like this:
yirenlu@Yirens-Air-2 my-plural-airflow-repo % ls
README.md bootstrap context.yaml postgres
airflow monitoring workspace.yaml
6. Deploy
plural deploy
7. Commit and push your changes
git add . && git commit -m "Initial plural setup"
git push
8. Profit!
You should now be able to navigate to the Fully Qualified Subdomain that you input earlier (in our case airflow.tryunitofwork.onplural.sh
). Because you've already chosen OIDC (single sign-on) above, you should be able to
Congratulations, you've successfully deployed Airflow on Kubernetes!
Next Steps With Plural
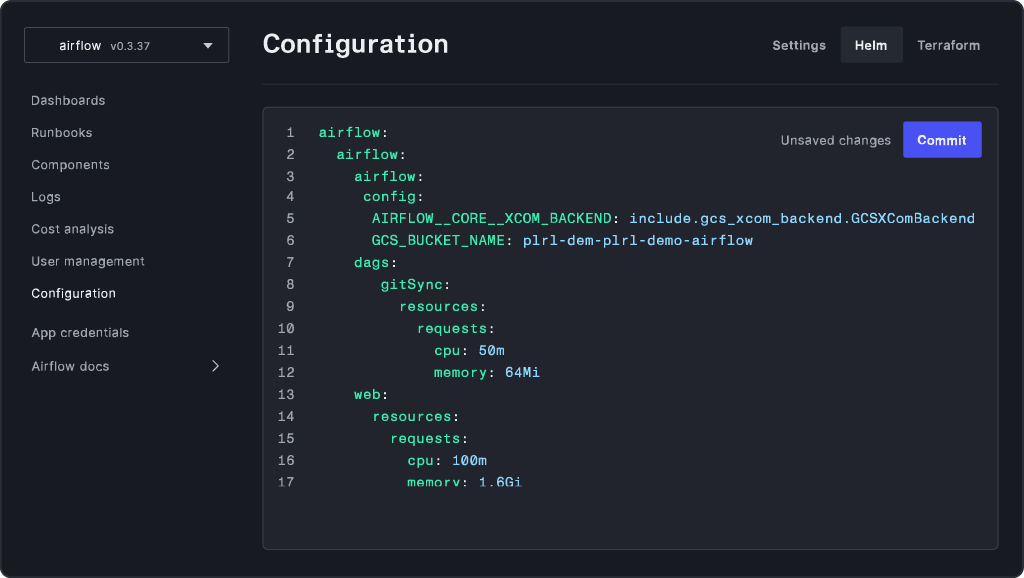
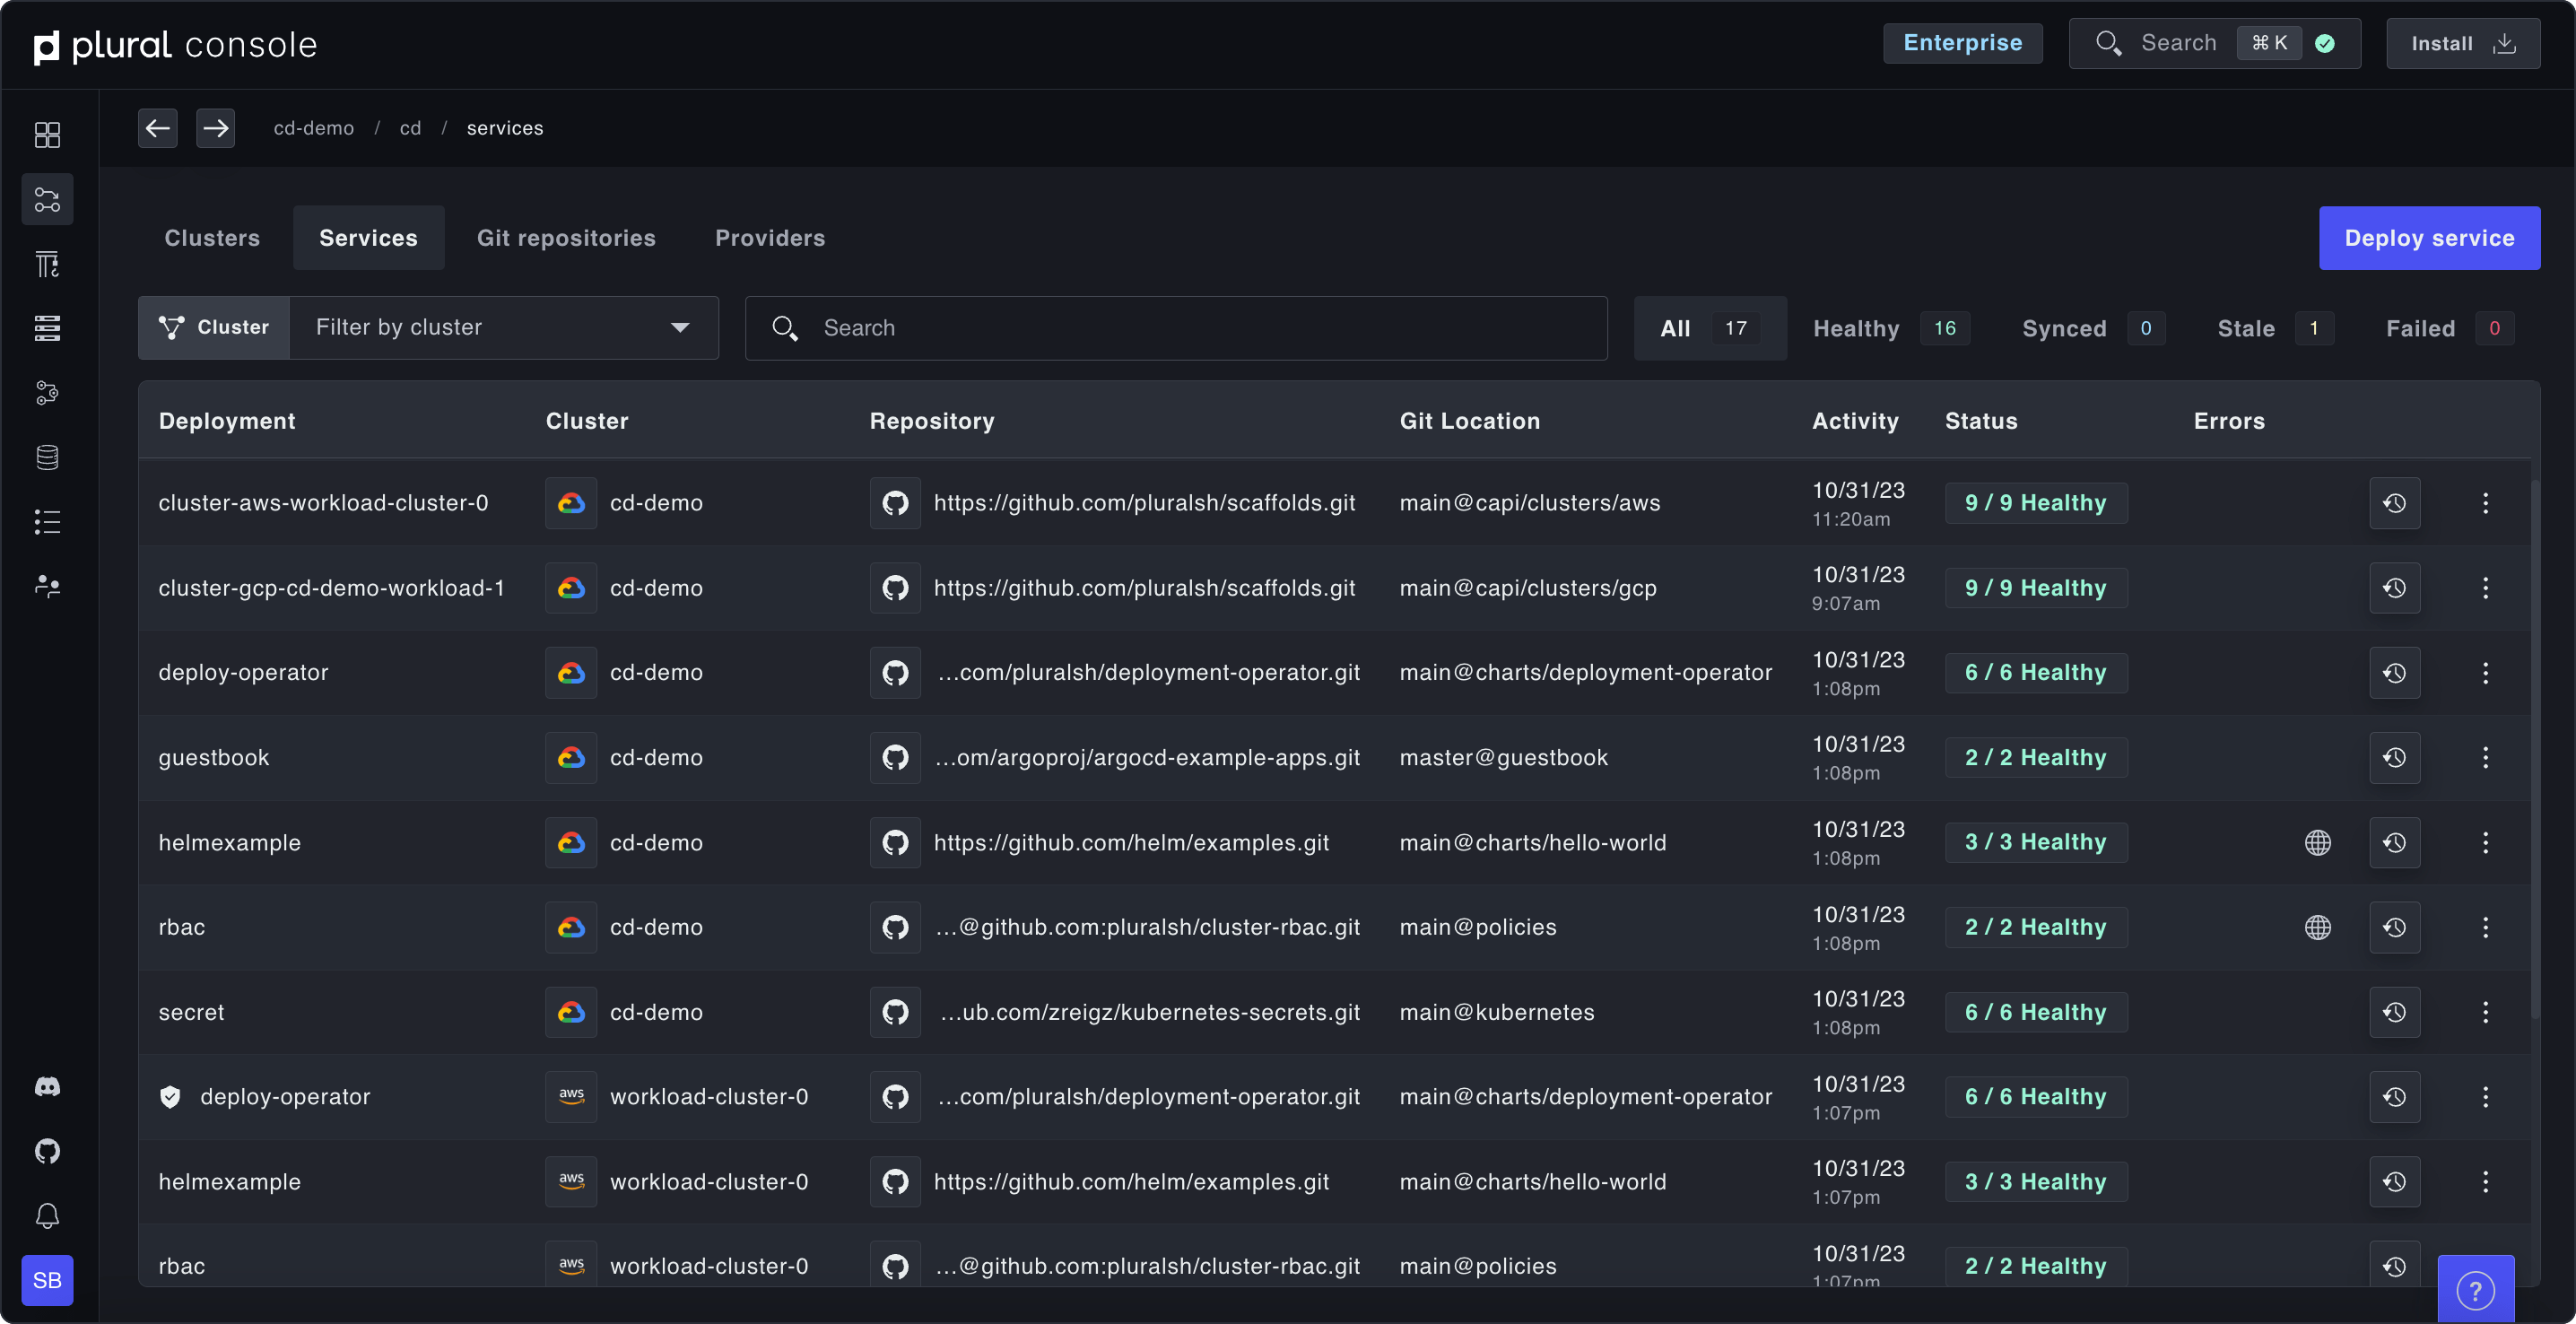
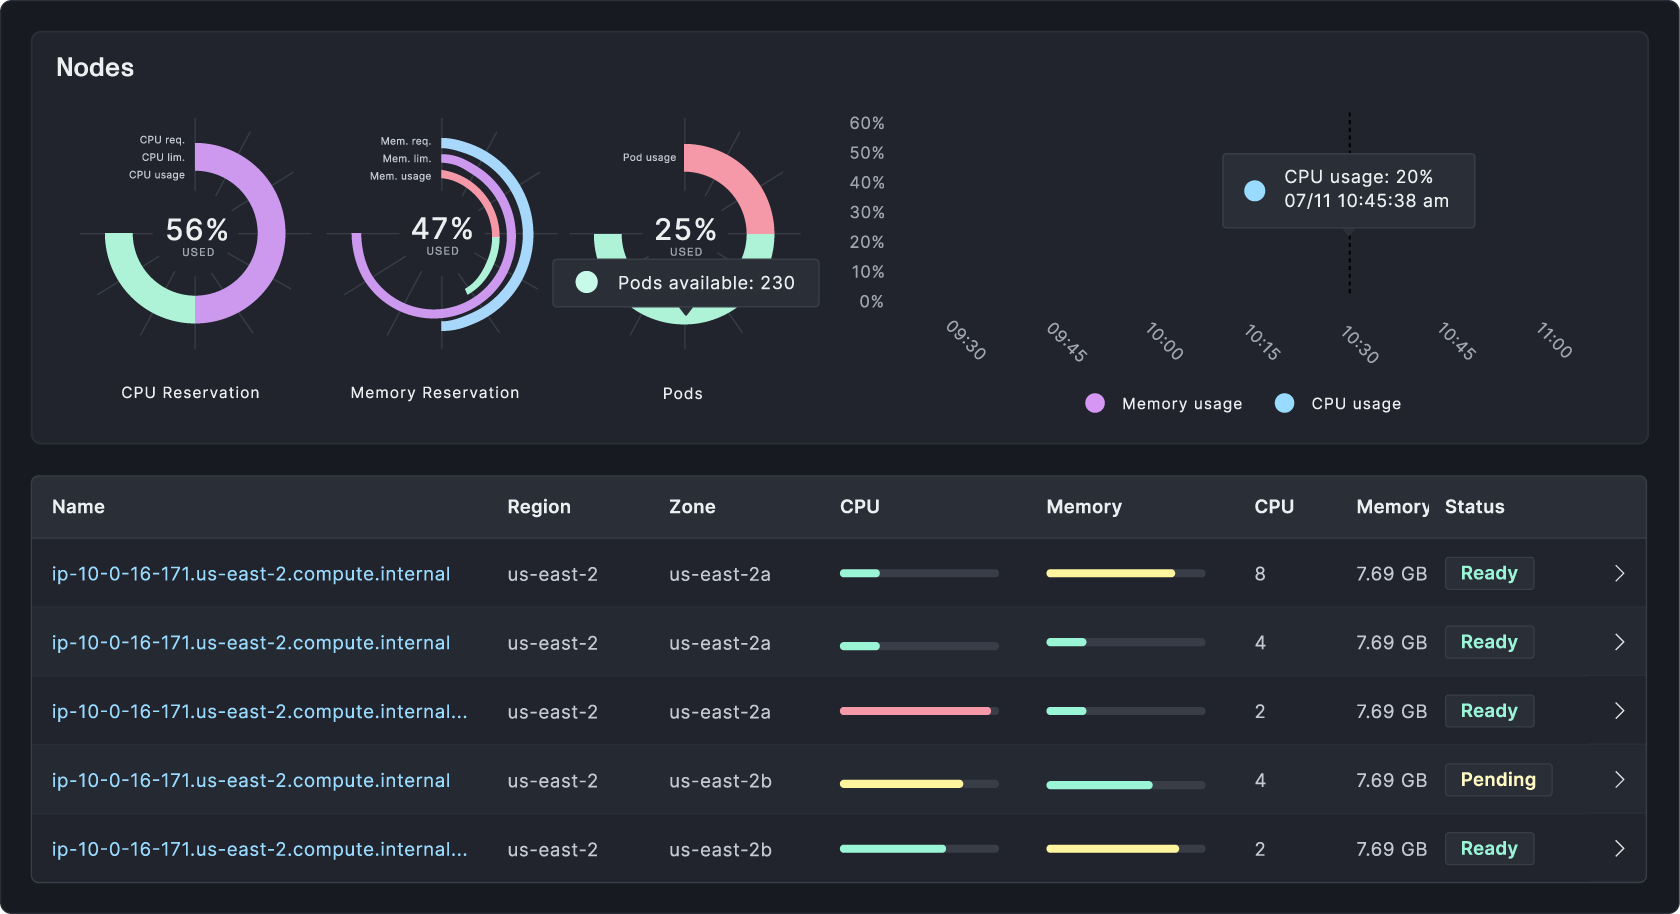
That was a quick overview of the simplest way you can use Plural to deploy Airflow on Kubernetes. Plural offers a number of other goodies, in particular the Admin Console which serves as a central control panel for all your Plural-deployed applications.
For more information about Plural check out our documentation.
If you run into any problems or have suggestions for what else you’d like to use Plural for, please let us know in our Discord.
Newsletter
Be the first to know when we drop something new.