Log inBook a demo today
Back

Jupyterhub

An application that you can use to create documents that contain live code, equations, visualizations, and text.

Available providers

Why use Jupyterhub on Plural?

Plural helps you deploy and manage the lifecycle of open-source applications on Kubernetes. Our platform combines the scalability and observability benefits of managed SaaS with the data security, governance, and compliance benefits of self-hosting Jupyterhub.

If you need more than just Jupyterhub, look for other cloud-native and open-source tools in our marketplace of curated applications to leapfrog complex deployments and get started quickly.

Jupyterhub’s websiteGitHubLicenseInstalling Jupyterhub docs
Deploying Jupyterhub is a matter of executing these 3 commands:
plural bundle install jupyterhub jupyterhub-aws
plural build
plural deploy --commit "deploying jupyterhub"
Read the install documentation

Technical Overview | Installation | Configuration | Docker | Contributing | License | Help and Resources


JupyterHub

Latest PyPI version Latest conda-forge version Documentation build status GitHub Workflow Status - Test Test coverage of code GitHub Discourse Gitter

With JupyterHub you can create a multi-user Hub that spawns, manages, and proxies multiple instances of the single-user Jupyter notebook server.

Project Jupyter created JupyterHub to support many users. The Hub can offer notebook servers to a class of students, a corporate data science workgroup, a scientific research project, or a high-performance computing group.

Technical overview

Three main actors make up JupyterHub:

  • multi-user Hub (tornado process)
  • configurable http proxy (node-http-proxy)
  • multiple single-user Jupyter notebook servers (Python/Jupyter/tornado)

Basic principles for operation are:

  • Hub launches a proxy.
  • The Proxy forwards all requests to Hub by default.
  • Hub handles login and spawns single-user servers on demand.
  • Hub configures proxy to forward URL prefixes to the single-user notebook servers.

JupyterHub also provides a REST API for administration of the Hub and its users.

Installation

Check prerequisites

  • A Linux/Unix based system

  • Python 3.6 or greater

  • nodejs/npm

    • If you are using conda, the nodejs and npm dependencies will be installed for you by conda.

    • If you are using pip, install a recent version (at least 12.0) of nodejs/npm.

  • If using the default PAM Authenticator, a pluggable authentication module (PAM).

  • TLS certificate and key for HTTPS communication

  • Domain name

Install packages

Using conda

To install JupyterHub along with its dependencies including nodejs/npm:

conda install -c conda-forge jupyterhub

If you plan to run notebook servers locally, install JupyterLab or Jupyter notebook:

conda install jupyterlab
conda install notebook

Using pip

JupyterHub can be installed with pip, and the proxy with npm:

npm install -g configurable-http-proxy
python3 -m pip install jupyterhub

If you plan to run notebook servers locally, you will need to install JupyterLab or Jupyter notebook:

python3 -m pip install --upgrade jupyterlab
python3 -m pip install --upgrade notebook

Run the Hub server

To start the Hub server, run the command:

jupyterhub

Visit http://localhost:8000 in your browser, and sign in with your system username and password.

Note: To allow multiple users to sign in to the server, you will need to run the jupyterhub command as a privileged user, such as root. The wiki describes how to run the server as a less privileged user, which requires more configuration of the system.

Configuration

The Getting Started section of the documentation explains the common steps in setting up JupyterHub.

The JupyterHub tutorial provides an in-depth video and sample configurations of JupyterHub.

Create a configuration file

To generate a default config file with settings and descriptions:

jupyterhub --generate-config

Start the Hub

To start the Hub on a specific url and port 10.0.1.2:443 with https:

jupyterhub --ip 10.0.1.2 --port 443 --ssl-key my_ssl.key --ssl-cert my_ssl.cert

Authenticators

| Authenticator | Description | | ---------------------------------------------------------------------------- | ------------------------------------------------- | | PAMAuthenticator | Default, built-in authenticator | | OAuthenticator | OAuth + JupyterHub Authenticator = OAuthenticator | | ldapauthenticator | Simple LDAP Authenticator Plugin for JupyterHub | | kerberosauthenticator | Kerberos Authenticator Plugin for JupyterHub |

Spawners

| Spawner | Description | | -------------------------------------------------------------- | -------------------------------------------------------------------------- | | LocalProcessSpawner | Default, built-in spawner starts single-user servers as local processes | | dockerspawner | Spawn single-user servers in Docker containers | | kubespawner | Kubernetes spawner for JupyterHub | | sudospawner | Spawn single-user servers without being root | | systemdspawner | Spawn single-user notebook servers using systemd | | batchspawner | Designed for clusters using batch scheduling software | | yarnspawner | Spawn single-user notebook servers distributed on a Hadoop cluster | | wrapspawner | WrapSpawner and ProfilesSpawner enabling runtime configuration of spawners |

Docker

A starter docker image for JupyterHub gives a baseline deployment of JupyterHub using Docker.

Important: This quay.io/jupyterhub/jupyterhub image contains only the Hub itself, with no configuration. In general, one needs to make a derivative image, with at least a jupyterhub_config.py setting up an Authenticator and/or a Spawner. To run the single-user servers, which may be on the same system as the Hub or not, Jupyter Notebook version 4 or greater must be installed.

The JupyterHub docker image can be started with the following command:

docker run -p 8000:8000 -d --name jupyterhub quay.io/jupyterhub/jupyterhub jupyterhub

This command will create a container named jupyterhub that you can stop and resume with docker stop/start.

The Hub service will be listening on all interfaces at port 8000, which makes this a good choice for testing JupyterHub on your desktop or laptop.

If you want to run docker on a computer that has a public IP then you should (as in MUST) secure it with ssl by adding ssl options to your docker configuration or by using an ssl enabled proxy.

Mounting volumes will allow you to store data outside the docker image (host system) so it will be persistent, even when you start a new image.

The command docker exec -it jupyterhub bash will spawn a root shell in your docker container. You can use the root shell to create system users in the container. These accounts will be used for authentication in JupyterHub's default configuration.

Contributing

If you would like to contribute to the project, please read our contributor documentation and the CONTRIBUTING.md. The CONTRIBUTING.md file explains how to set up a development installation, how to run the test suite, and how to contribute to documentation.

For a high-level view of the vision and next directions of the project, see the JupyterHub community roadmap.

A note about platform support

JupyterHub is supported on Linux/Unix based systems.

JupyterHub officially does not support Windows. You may be able to use JupyterHub on Windows if you use a Spawner and Authenticator that work on Windows, but the JupyterHub defaults will not. Bugs reported on Windows will not be accepted, and the test suite will not run on Windows. Small patches that fix minor Windows compatibility issues (such as basic installation) may be accepted, however. For Windows-based systems, we would recommend running JupyterHub in a docker container or Linux VM.

Additional Reference: Tornado's documentation on Windows platform support

License

We use a shared copyright model that enables all contributors to maintain the copyright on their contributions.

All code is licensed under the terms of the revised BSD license.

Help and resources

We encourage you to ask questions and share ideas on the Jupyter community forum. You can also talk with us on our JupyterHub Gitter channel.

JupyterHub follows the Jupyter Community Guides.


Technical Overview | Installation | Configuration | Docker | Contributing | License | Help and Resources

How Plural works

We make it easy to securely deploy and manage open-source applications in your cloud.

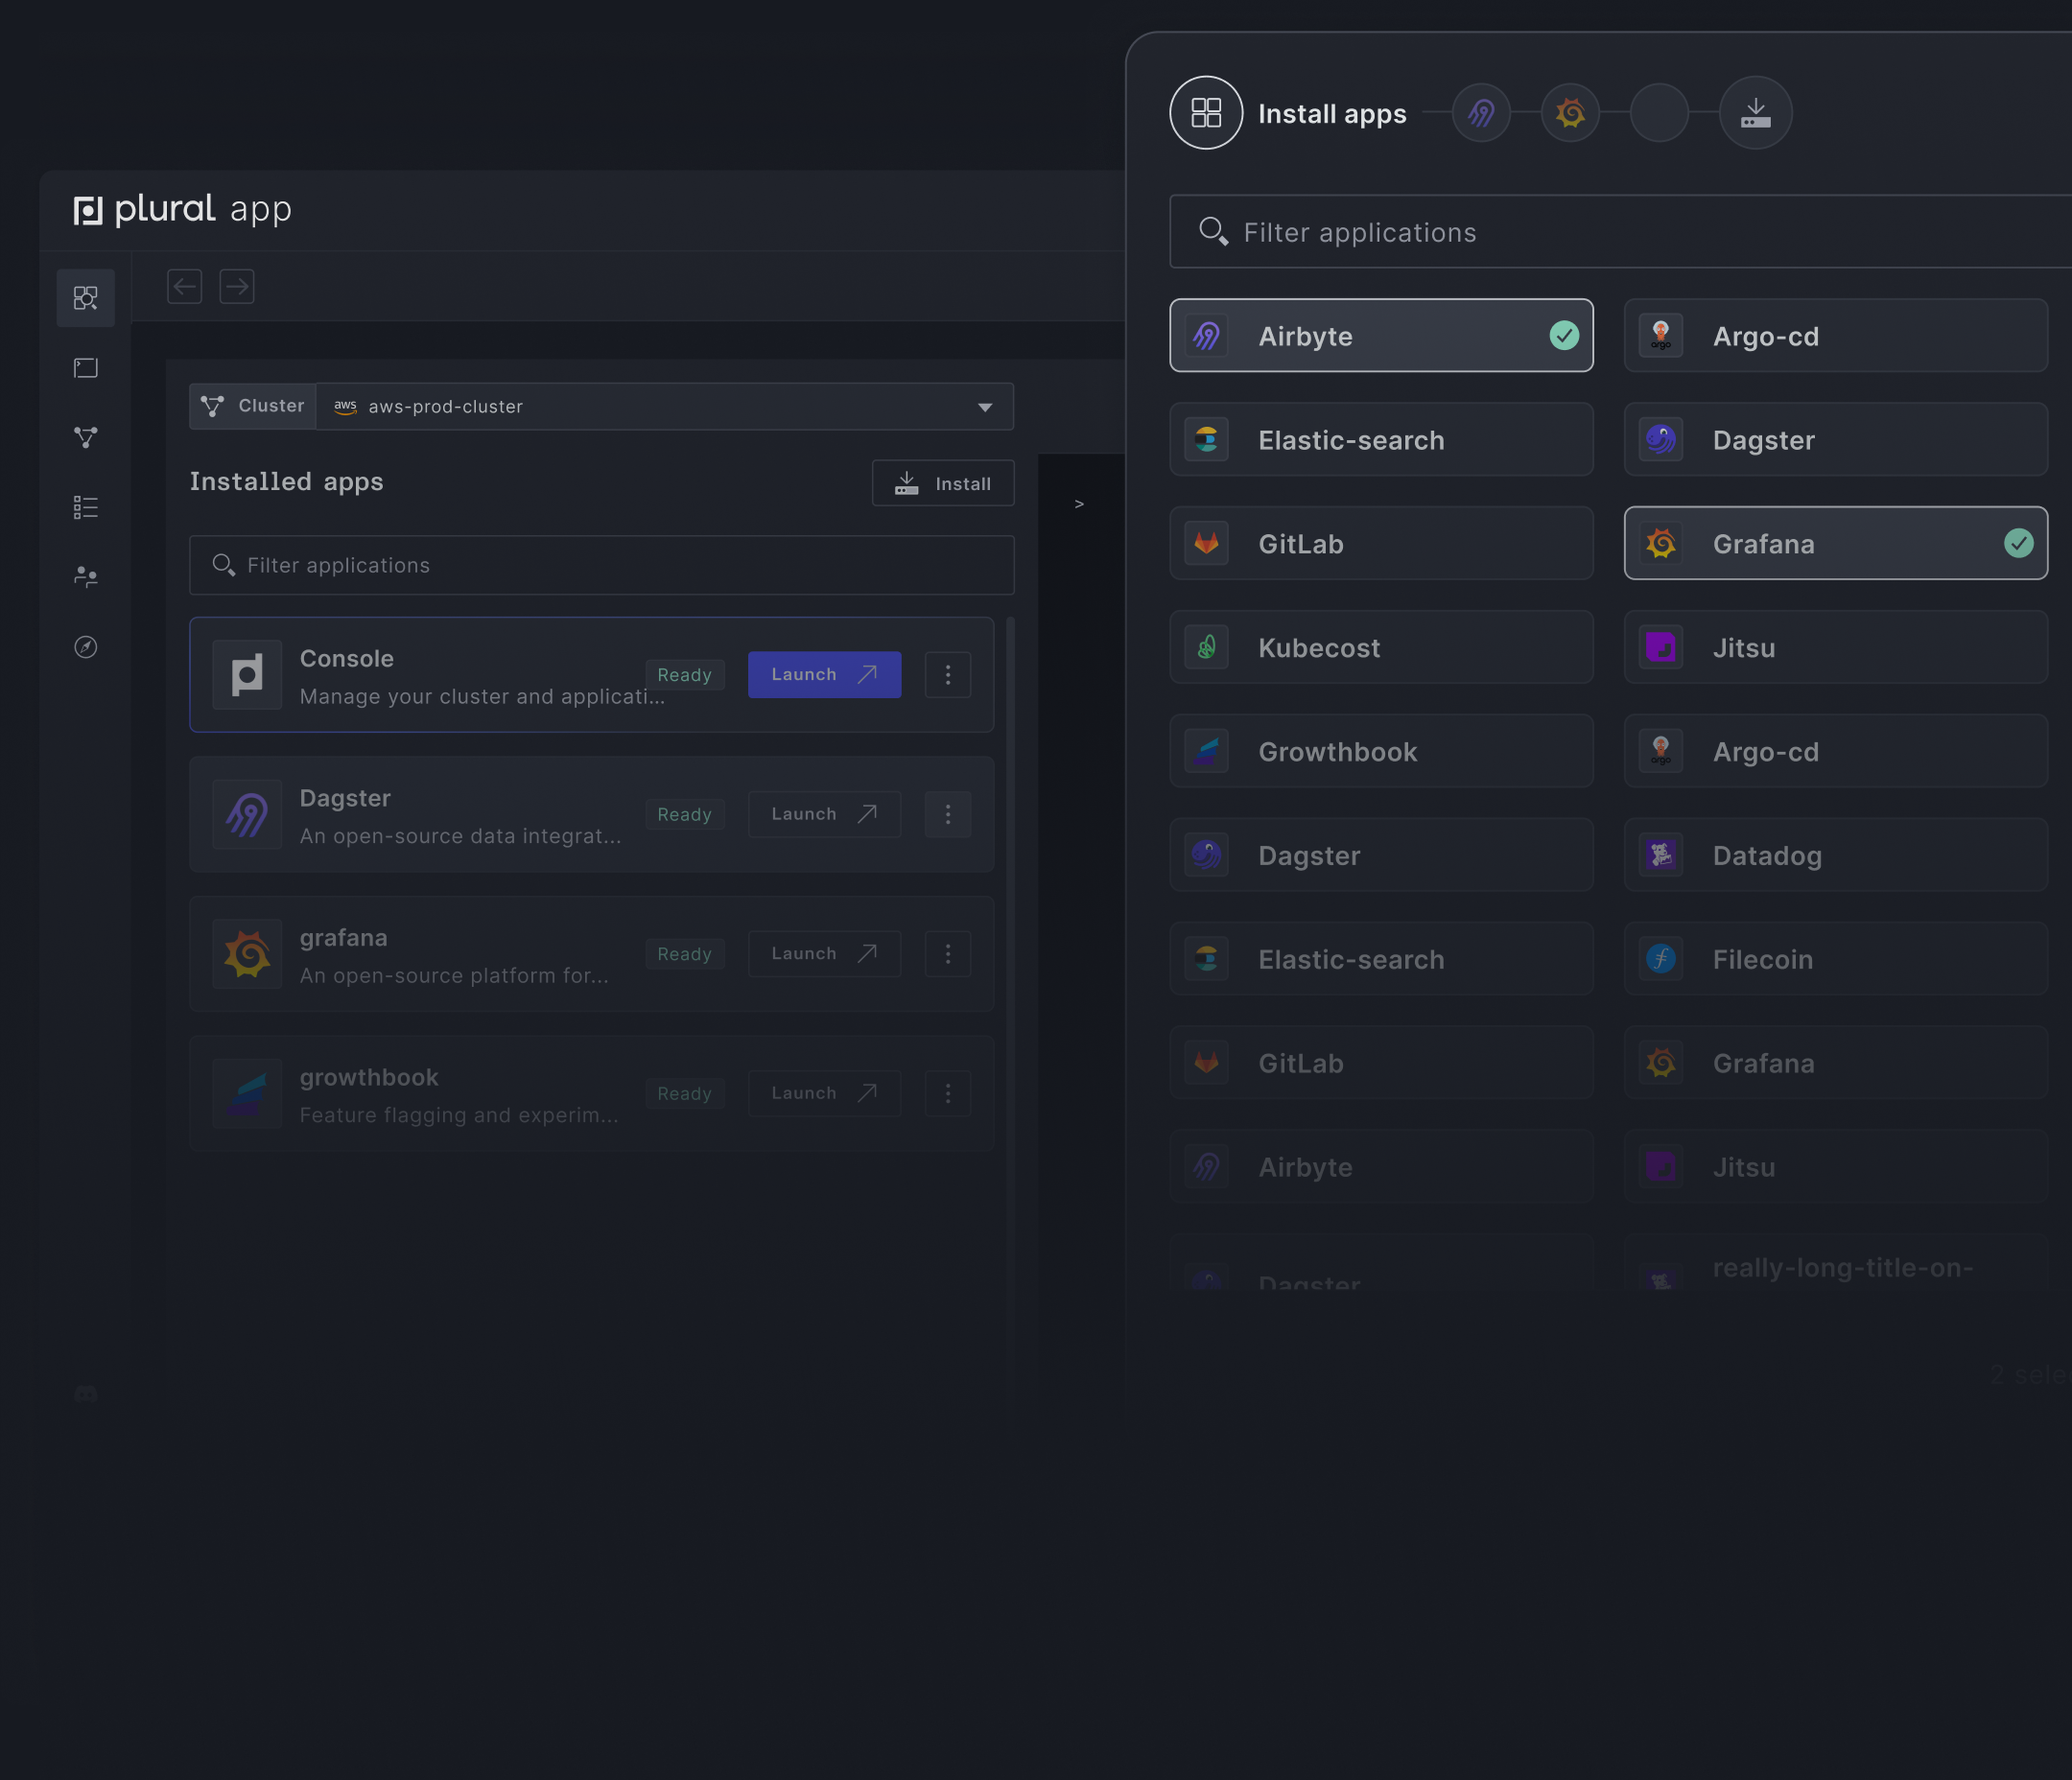
Select from 90+ open-source applications

Get any stack you want running in minutes, and never think about upgrades again.

Securely deployed on your cloud with your git

You control everything. No need to share your cloud account, keys, or data.

Designed to be fully customizable

Built on Kubernetes and using standard infrastructure as code with Terraform and Helm.

Maintain & Scale with Plural Console

Interactive runbooks, dashboards, and Kubernetes api visualizers give an easy-to-use toolset to manage application operations.

Learn more
Screenshot of app installation in Plural app

Build your custom stack with Plural

Build your custom stack with over 90+ apps in the Plural Marketplace.

Explore the Marketplace

Used by fast-moving teams at

  • CoachHub
  • Digitas
  • Fnatic
  • Fsn
  • Justos
  • Mot Mac

What companies are saying about us

We no longer needed a dedicated DevOps team; instead, we actively participated in the industrialization and deployment of our applications through Plural. Additionally, it allowed us to quickly gain proficiency in Terraform and Helm.

Walid El Bouchikhi
Data Engineer at Beamy

I have neither the patience nor the talent for DevOps/SysAdmin work, and yet I've deployed four enterprise-caliber open-source apps on Kubernetes... since 9am today. Bonkers.

Sawyer Waugh
Head of Engineering at Justifi

This is awesome. You saved me hours of further DevOps work for our v1 release. Just to say, I really love Plural.

Ismael Goulani
CTO & Data Engineer at Modeo

Wow! First of all I want to say thank you for creating Plural! It solves a lot of problems coming from a non-DevOps background. You guys are amazing!

Joey Taleño
Head of Data at Poplar Homes

We have been using Plural for complex Kubernetes deployments of Kubeflow and are excited with the possibilities it provides in making our workflows simpler and more efficient.

Jürgen Stary
Engineering Manager @ Alexander Thamm

Plural has been awesome, it’s super fast and intuitive to get going and there is zero-to-no overhead of the app management.

Richard Freling
CTO and Co-Founder at Commandbar

Case StudyHow Fnatic Deploys Their Data Stack with Plural

Fnatic is a leading global esports performance brand headquartered in London, focused on leveling up gamers. At the core of Fnatic’s success is its best-in-class data team. The Fnatic data team relies on third-party applications to serve different business functions with every member of the organization utilizing data daily. While having access to an abundance of data is great, it opens up a degree of complexity when it comes to answering critical business questions and in-game analytics for gaming members.

To answer these questions, the data team began constructing a data stack to solve these use cases. Since the team at Fnatic are big fans of open-source they elected to build their stack with popular open-source technologies.

FAQ

Plural is open-source and self-hosted. You retain full control over your deployments in your cloud. We perform automated testing and upgrades and provide out-of-the-box Day 2 operational workflows. Monitor, manage, and scale your configuration with ease to meet changing demands of your business. Read more.

We support deploying on all major cloud providers, including AWS, Azure, and GCP. We also support all on-prem Kubernetes clusters, including OpenShift, Tanzu, Rancher, and others.

No, Plural does not have access to any cloud environments when deployed through the CLI. We generate deployment manifests in the Plural Git repository and then use your configured cloud provider's CLI on your behalf. We cannot perform anything outside of deploying and managing the manifests that are created in your Plural Git repository. However, Plural does have access to your cloud credentials when deployed through the Cloud Shell. Read more.