Self-host n8n and deploy n8n on Kubernetes with Plural.

How to install and deploy n8n on Kubernetes

Self-hosting n8n is challenging. It doesn't have to be. Here's how to install n8n onto Kubernetes using Plural.

Brandon Gubitosa
Brandon Gubitosa

n8n is a popular open-source extendable workflow automation tool that automates manual tasks for users. It is a popular alternative to tools like Zapier and IFTTT. Due to its node-based approach, it’s highly versatile and currently supports over 200 integrations, so it’s a breeze to connect different tools and automate workflows across different applications.

Currently, our Engineering and Product teams use n8n to keep our ticketing system Asana and GitHub in sync. Using n8n to keep them in sync eliminates the need for both the engineering and product teams to manually keep the two aligned. It also allows the GitHub PR process to drive the movement of tickets and increase visibility for product managers.

Since we self-host all of our internal infrastructure for an extra layer of security we decided to do the same for n8n.

While n8n does offer a cloud-based solution that does host the platform for you, there are instances where it makes sense to self-host it. Some common self-hosting use cases are working in a regulated industry, connecting n8n to sensitive data, or running production workloads with n8n.

However, self-hosting n8n is not an easy task and requires extensive technical knowledge for topics such as:

  • Setting up and configuring servers and containers
  • Managing application resources and scaling to meet demand
  • Securing servers and applications
  • Configuring n8n properly

Mistakes can lead to data loss, security issues, and downtime. Previously, if our engineering team wanted to deploy n8n on Kubernetes, they would need to:

  • Configure a Kubernetes cluster with the appropriate access management, monitoring, and autoscaling
  • Setup an ingress controller
  • Setup and manage a DNS/Certificate Management
  • Install and manage Postgres
  • Deal with Secret Management

While this is doable, the management of production-stage operations and monitoring requires manual intervention and this process varies drastically across cloud providers and platforms.

It’s not just n8n that is hard to deploy and maintain. Other open-source applications are notoriously difficult to do so as well. To do so effectively, developers will need to understand things like:

  • How readiness and liveness probes work
  • How resource requests and limits work
  • How horizontal or vertical pod autoscaling works
  • How all these things influence each other

The process outlined below will show you how to set up a fresh Kubernetes cluster and install n8n onto that cluster using Plural.

Plural is a free, open-source, Kubernetes DevOps platform that allows you to deploy Kubernetes clusters and open-source applications with little to no management experience necessary.

If you prefer a video walkthrough, check out this video that follows along with this blog post.

Deploying n8n on Kubernetes using Plural.

Prerequisites

Before you install n8n onto a Kubernetes cluster, you will need to create an account with Plural. While it may feel weird to create an account for an open-source tool, doing so provides the following benefits:

  • A cloud shell that bypasses the need for a local terminal
  • A source of truth for your installations
  • Auth tracking to make sure that a user has permission to edit and configure the Plural installation
  • An audit log viewer
  • … and much more

To start, head over to app.plural.sh and follow the on-screen instructions. If you prefer to use Plural in your command line, follow our quickstart guide here.

Note: For this tutorial, we will be using our own GCP cloud credentials since we already have a service account set up with GCP. Check out our documentation to quickly set up your cloud provider to integrate with our platform (and make sure to note the download location of the created service account.)

Creating and configuring a Kubernetes cluster for n8n

  1. Enter Plural’s onboarding experience: After signing up for Plural, you will be taken through our onboarding experience
  2. Click on use your own cloud: For this demo, we are using the free GCP demo we provide on launch). Plural does integrate with Google Cloud Platform (GCP), Amazon Web Services (AWS), Microsoft Azure, and KIND.
For this demo we are using Plural's free GCP Demo

3. Create a GitHub or GitLab repository to store the state of the deployment: Plural manages all cluster configurations via Git and will provision a GitHub repository on your behalf. This repository is set up using scoped deploy keys to store the state of your workspace, and no Oauth credentials are persisted.

4. Choose your cloud provider: You’ll be prompted to enter your service account cloud credentials. Plural is a solution that deploys and manages infrastructure in a user’s cloud environment and it needs relatively high levels of access to your cloud environment. As a result, you need to provide a service account to Plural so that it can authenticate against your cloud environment.

5.  Enter cluster-specific information: Plural will create a Kubernetes cluster on your behalf. You will need to enter a unique cluster name to be created for the deployment. Then, provide a unique bucket prefix and a subdomain for DNS creation.

6. Review: Once you enter the cluster information, review that it is correct, and if so click create. Note: This step can take a few minutes as Plural spins up a cloud shell environment for you to deploy applications on.

How to Install n8n on a Kubernetes Cluster

  1. Once your cloud-shell environment is spun up you’ll be prompted to select the applications you want to install on a fresh Kubernetes cluster. For the purpose of this demo, we’ll be installing n8n and the Plural console (a web-based dashboard that allows you to manage all your Plural applications and clusters in one place.)
  2. Set up some basic workspace configuration to ensure we name the cluster to add. You’ll first be prompted to enter a VPC name for the n8n deployment to reside in.
Enter a VPC name for your deployment with Plural.

3. Enter the storage bucket information specific to your cloud environment if prompted (this is for the plural console which provides application health data and automated application upgrades.)

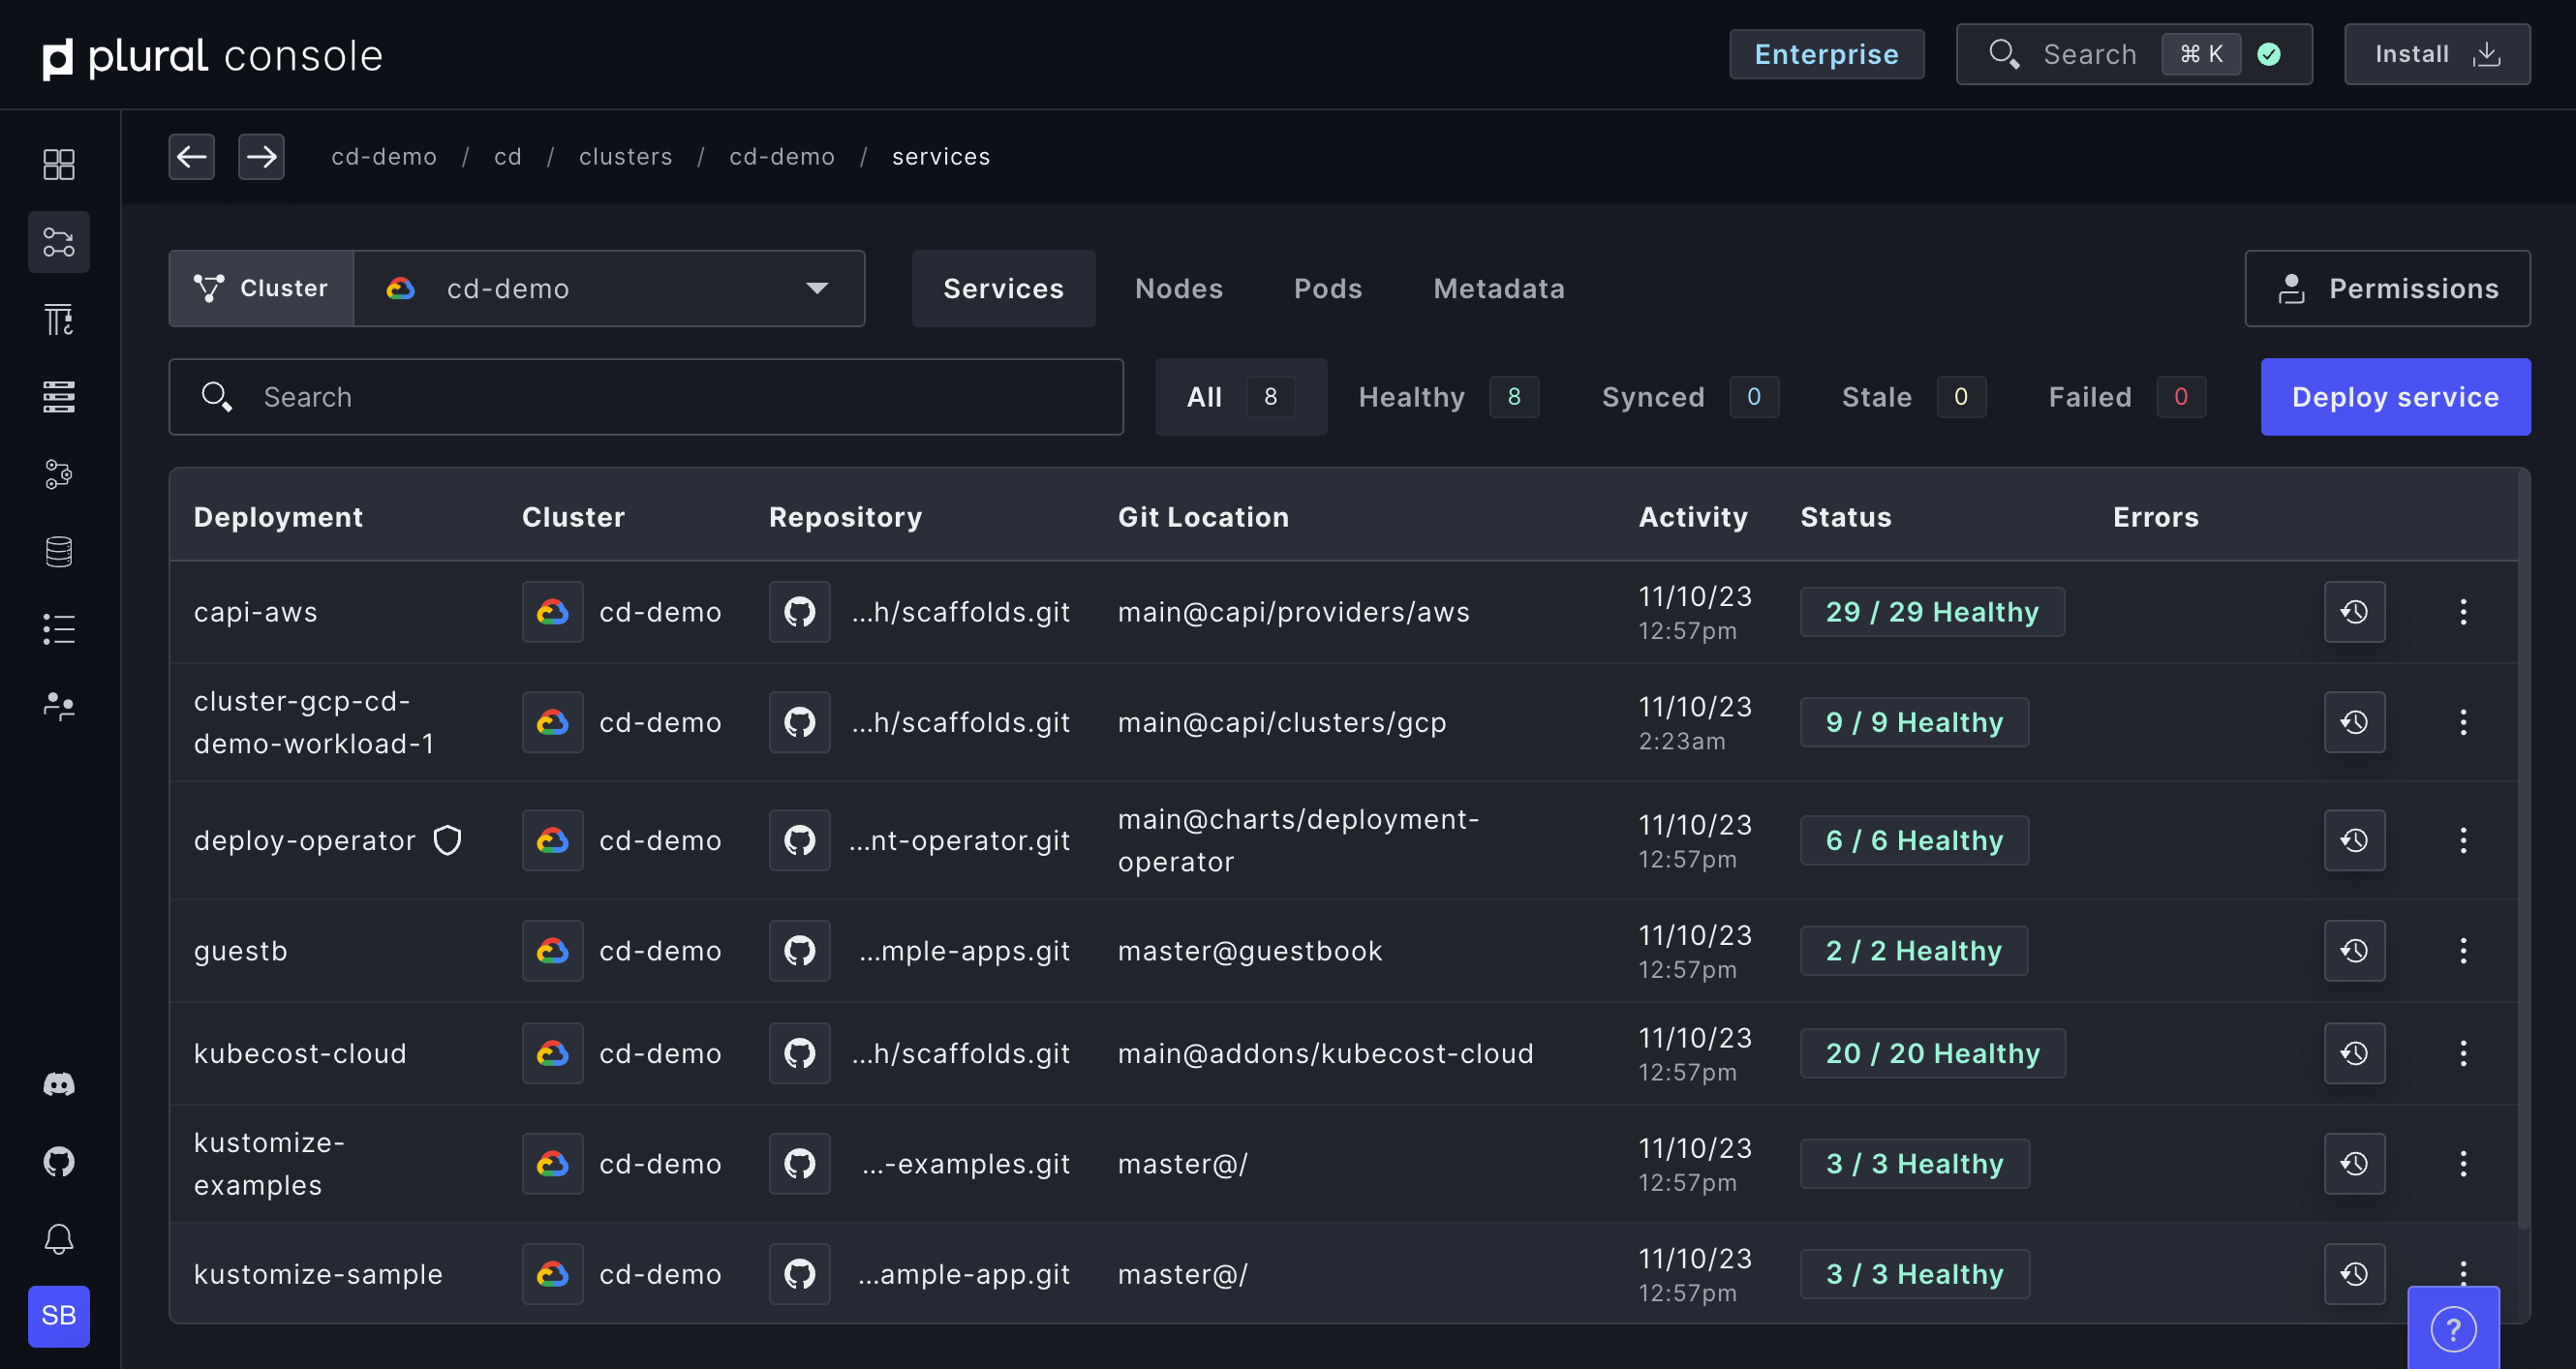
4.  If you earlier chose to install the Plural console alongside n8n you’ll be prompted to configure your Plural console environment.

5. Enter a hostname for you to access your airbyte deployment as well as a private DNS name to securely access the n8n API. Note: It's recommended to name the hostname after the application.


6. Review over the applications being installed (you’ll also be able to see which dependencies Plural deploys as well on your behalf). Click Install and Plural will begin deploying the Plural console and n8n automatically.

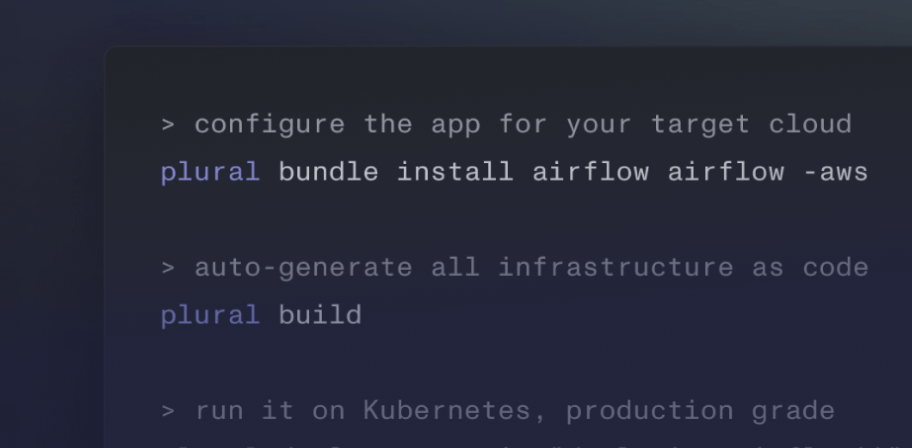
Plural will run ‘plural build’ and ‘plural deploy’ on your behalf. You can follow the progress through the log output on the right-hand side. This process normally takes 10-15 minutes.

Next Steps with Plural

Through this article, you learned how to:

  • Provision a fully configured Kubernetes cluster with no management experience necessary
  • Install an instance of n8n on your fresh Kubernetes cluster
  • Invite users to your n8n installation

Are you looking to get your n8n instance up and running on Kubernetes with minimal effort?

Reach out to our team to learn more about how Plural works and how we are helping engineering teams across the world deploy open-source applications in a cloud production environment!

Make sure to join our Discord community for deployment help, discussion, and meeting other Plural users.

Ready to effortlessly deploy and operate open-source applications in minutes? Get started with Plural today.

Tutorials

Brandon Gubitosa

Leading content over at Plural.